3D Printing
Syringe Pump
Printing Syringe Pump Components
Print the following files with high infill density (we used 70%). The best orientation would be horizontally across. For example, the flange holder would be printed with the L shape on the printer bed.
The stl files are linked to the name of each component.
| Name | Quantity | Drawing |
|---|---|---|
| Syringe Motor Mount | 1 | 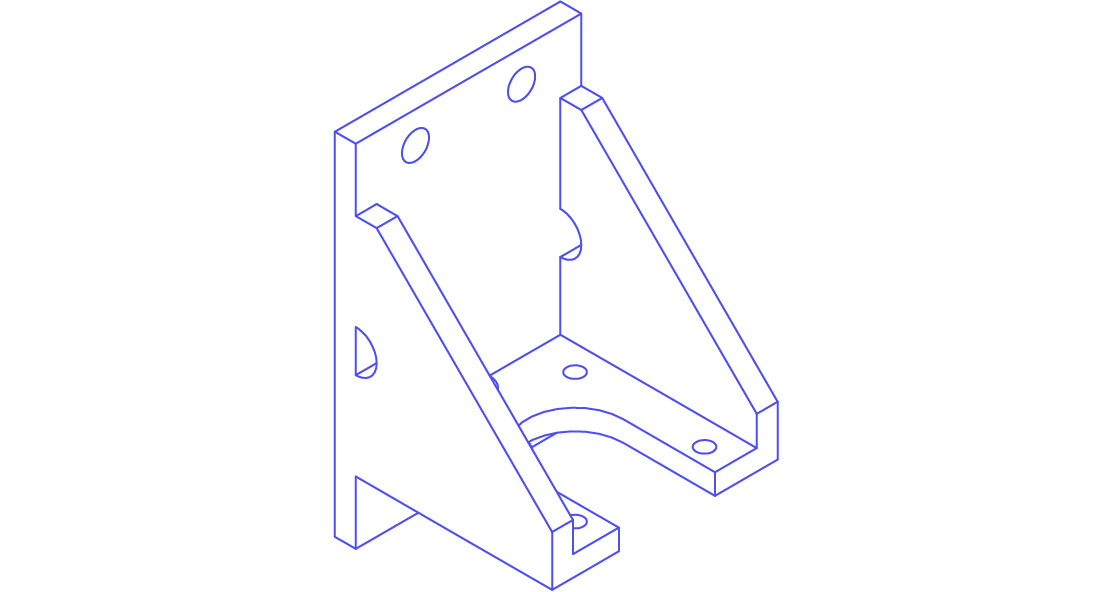 |
| Syringe Displacer | 1 | 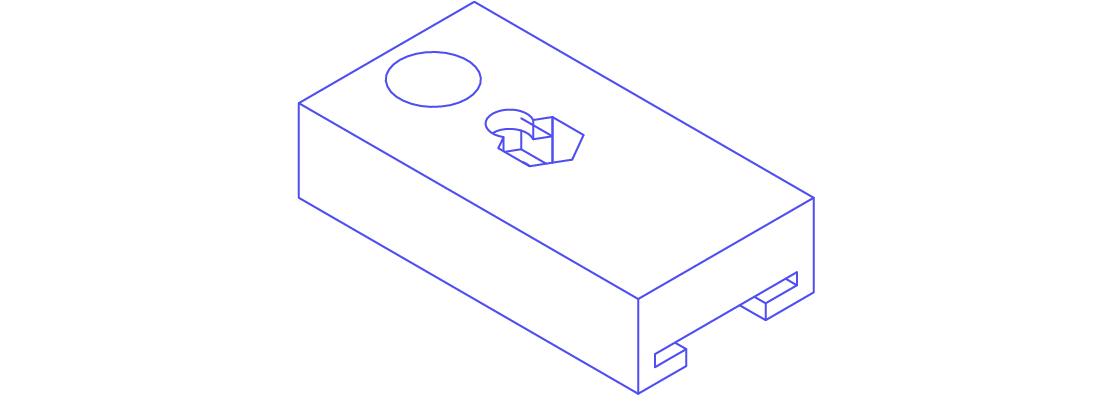 |
| Flange Holder | 1 | 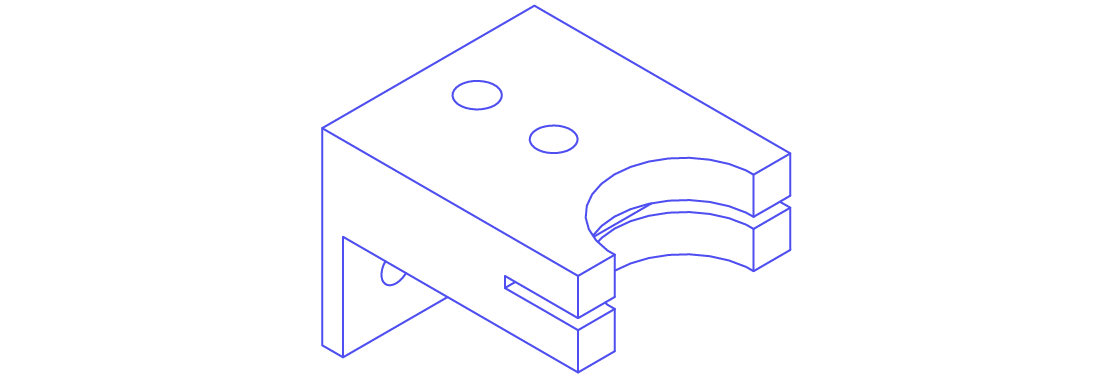 |
| Syringe Hub Holder | 1 | 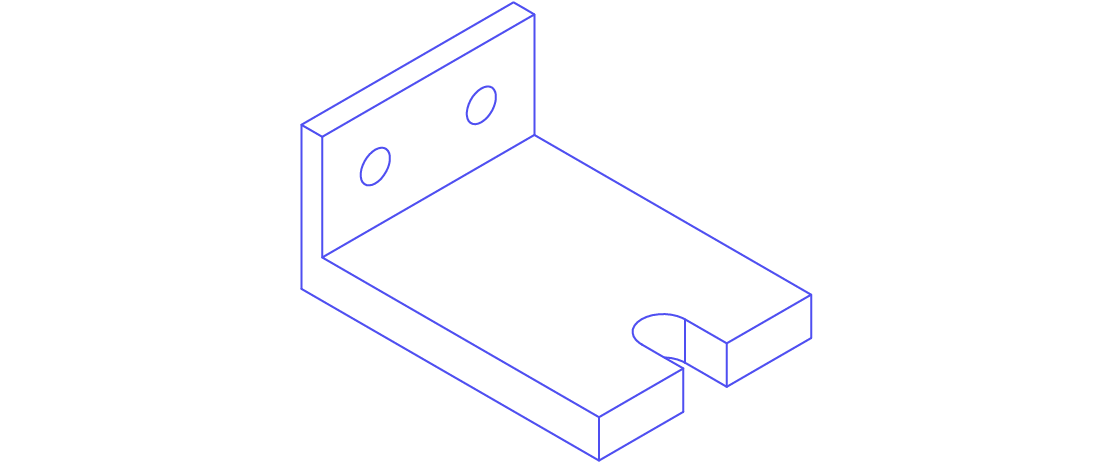 |
Modifying Dimensions
If your syringe’s dimensions do not fit the model, use the Open SCAD files and export new stl models to print.
Download Open SCAD here.
Here are the links to the Open SCAD files you can use:
All the numbers in Open SCAD are in millimeters. Follow these steps:
- Edit the dimensions in the
SyringePumpConstants.scadfile.plungerDiameteris the diameter of plunger flange.plungerThicknessis the thickness of the plunger flange.plungerInnerDiameteris the diameter of the part of the plunger directly below the flange.barrelDiameteris the diameter of the barrel.barrelSlotThicknessis the vertical thickness of the barrel flange.barrelSlotHeightis the total horizontal width of the barrel flange (use the shorter distance if the flange is asymmetrical).hubDiameteris the diameter of the narrower part of the syringe below the barrel.
- Save the edited
SyringePumpConstants.scadfile. - Open each model you want to print, click the
renderbutton. - Export the rendered file as
.stl.
Bath and Collector
Printing Bath Containers
For the coagulation bath and water bath, there is a version compatible with resin printers and a version compatible with FDM printers. If using a resin printer, simply clean the print and it is ready to use. If using a FDM printer, attach a bath stand to each cutout in the coagulation and wash bath with superglue. Then, coat the print with a waterproof sealant. We used this silicone spray.
| Name | Quantity | Drawing |
|---|---|---|
| Coagulation Bath (SLA) | 1 | 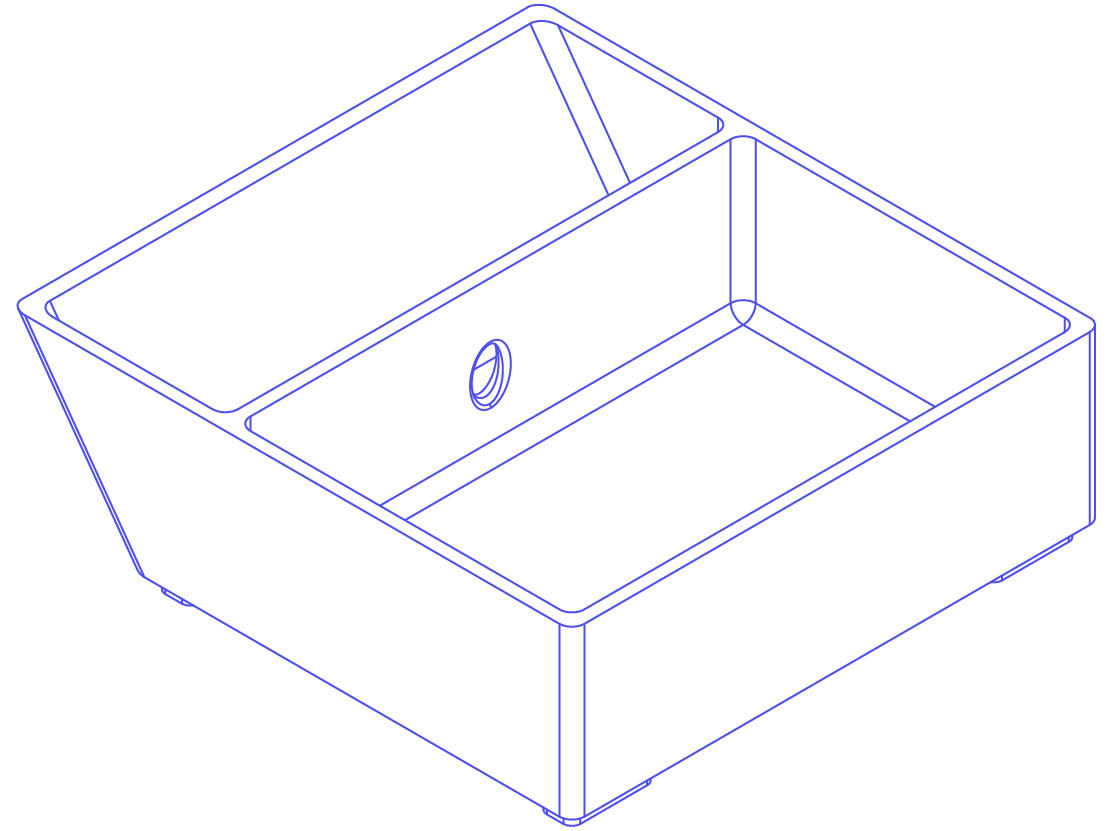 |
| Wash Bath (SLA) | 1 | 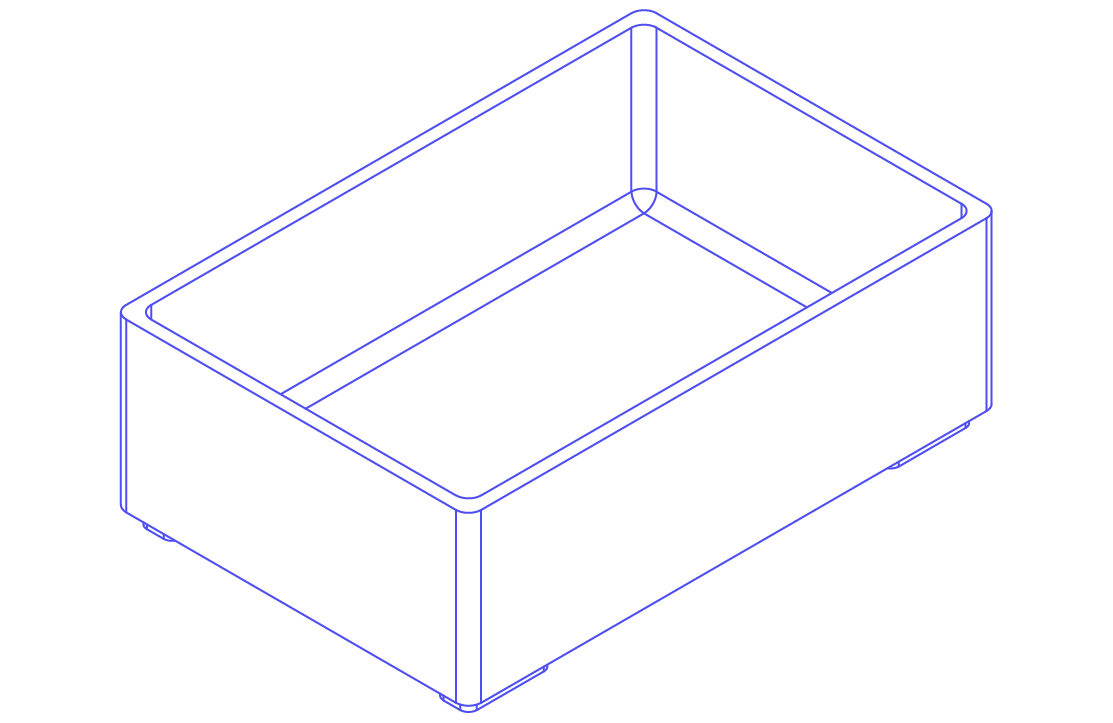 |
| Coagulation Bath (FDM) | 1 | |
| Wash Bath (FDM) | 1 | |
| Bath Stand (FDM) | 8 |  |
Printing Roller Collectors
| Name | Quantity | Drawing |
|---|---|---|
| Narrow Tank Stand | 2 |  |
| Wide Tank Stand | 2 | 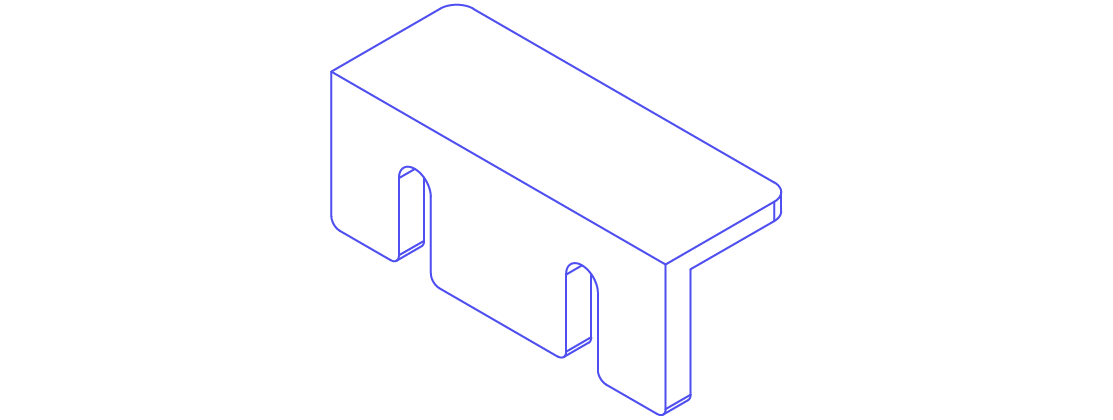 |
| Roller | 2 | 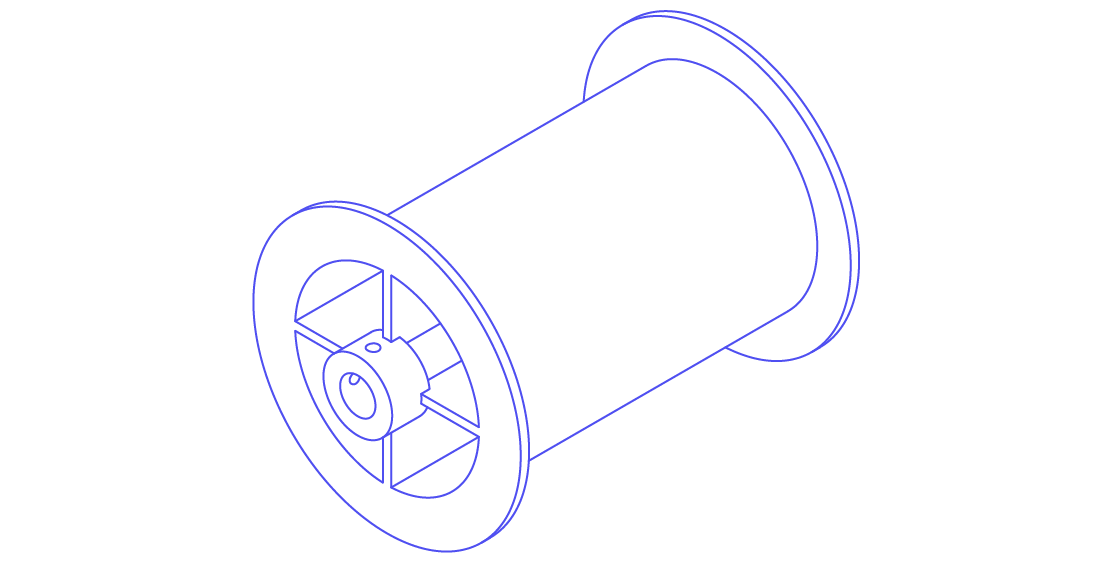 |
| Shaft Sleeve | 3 |  |
| Axel | 3 |  |
| Post | 3 |  |
| Roller Motor Mount | 1 | 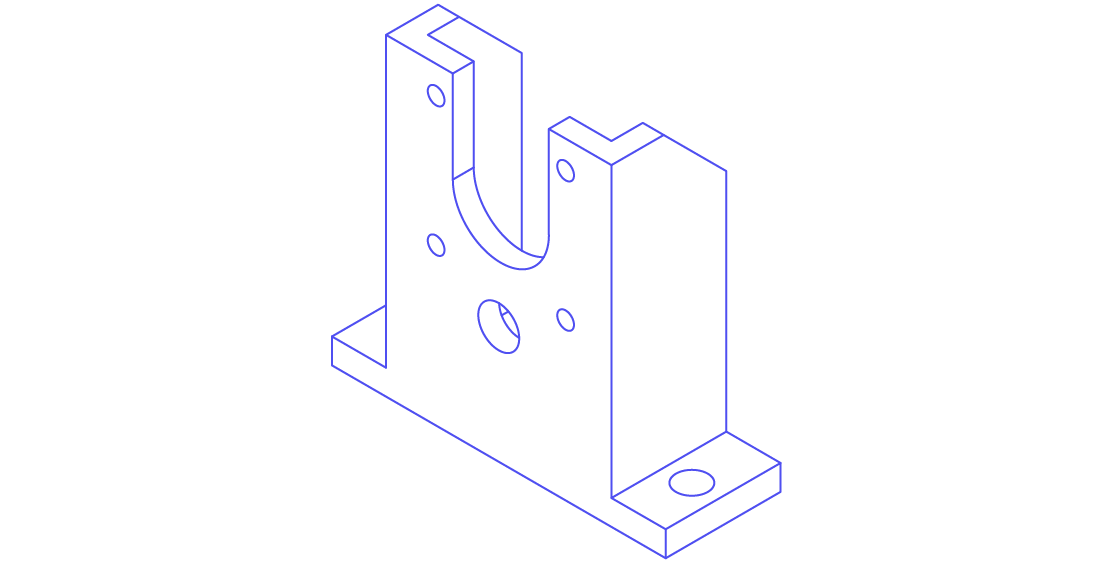 |
Controller Box
| Name | Quantity | Drawing |
|---|---|---|
| PCB Lid | 1 | 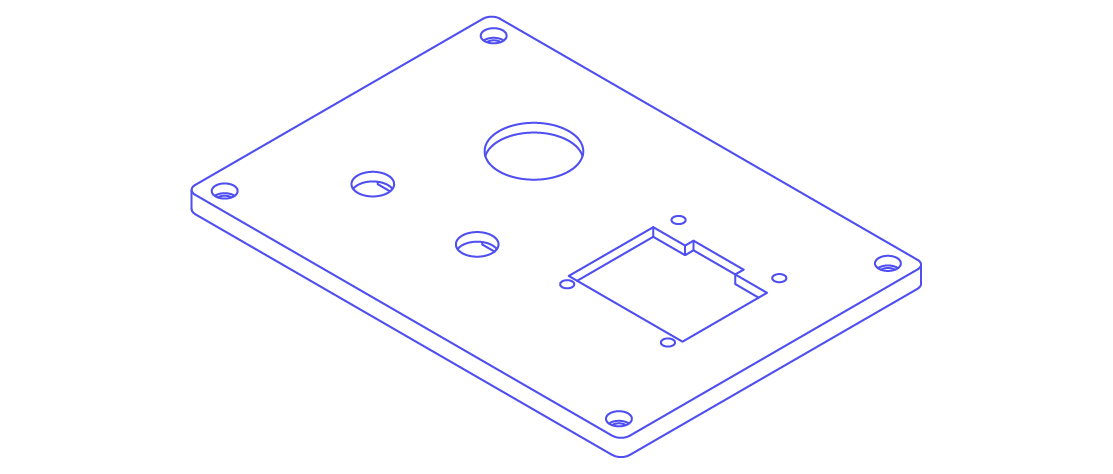 |
| PCB Box | 1 | 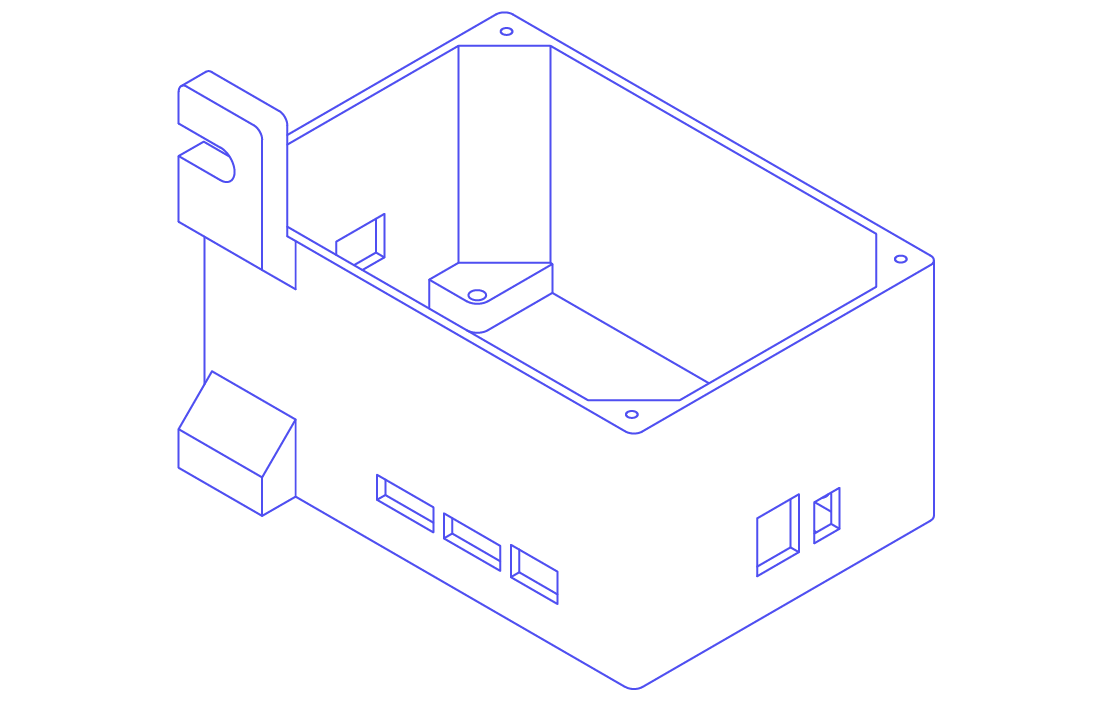 |
Drying Yarns
A warping board works well for drying the yarns. However, we also designed printable stands to use in case you don’t have access to a warping board. After printing all the components, slot the Rack into the Base and insert the Rods into the Rack like so:
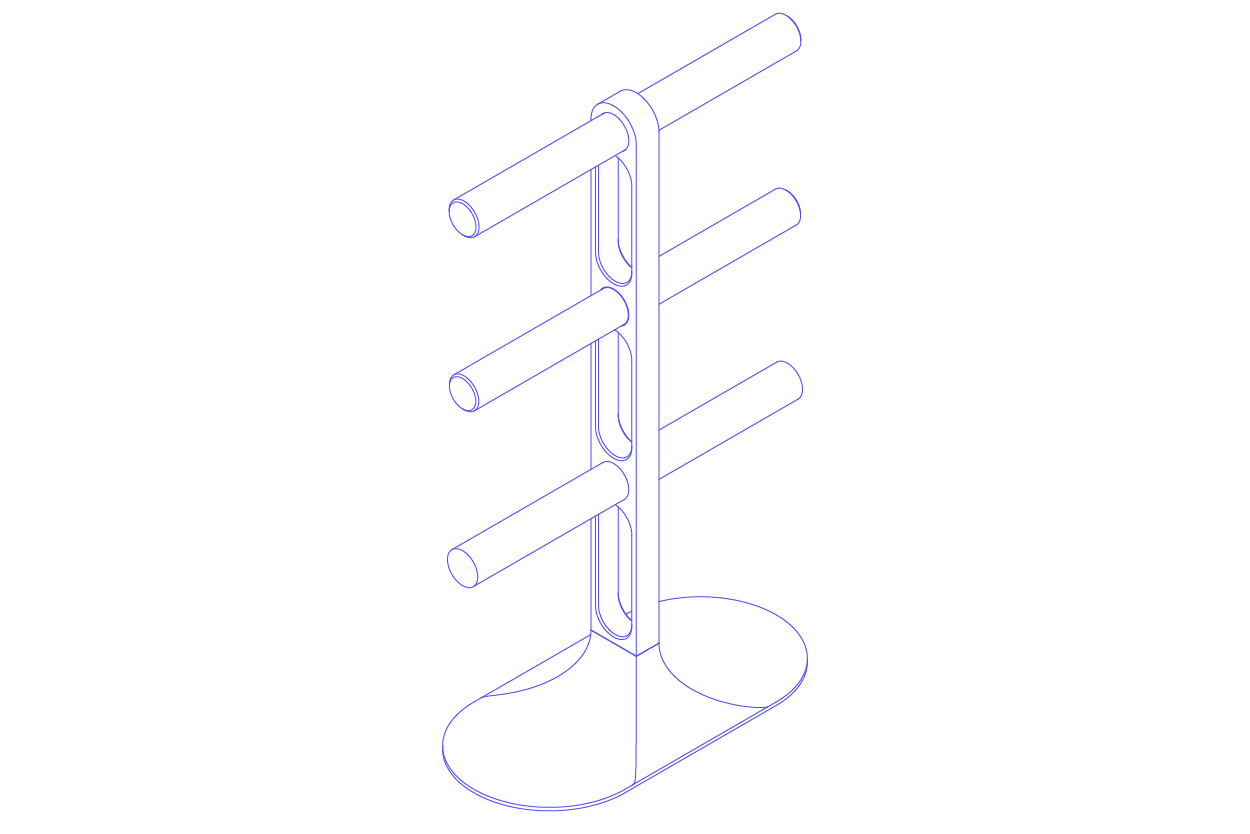
Two stands will be needed in order to wrap the yarns between them. We found that if the stands are placed 1 yard apart, two stands can dry two 60ml syringes at a time. To prevent the stands from tipping over, the base can be taped to the table.
The minimum print bed size for these files would 256mm x 256mm.
| Name | Quantity | Drawing |
|---|---|---|
| Drying Stand Rod | 6 | 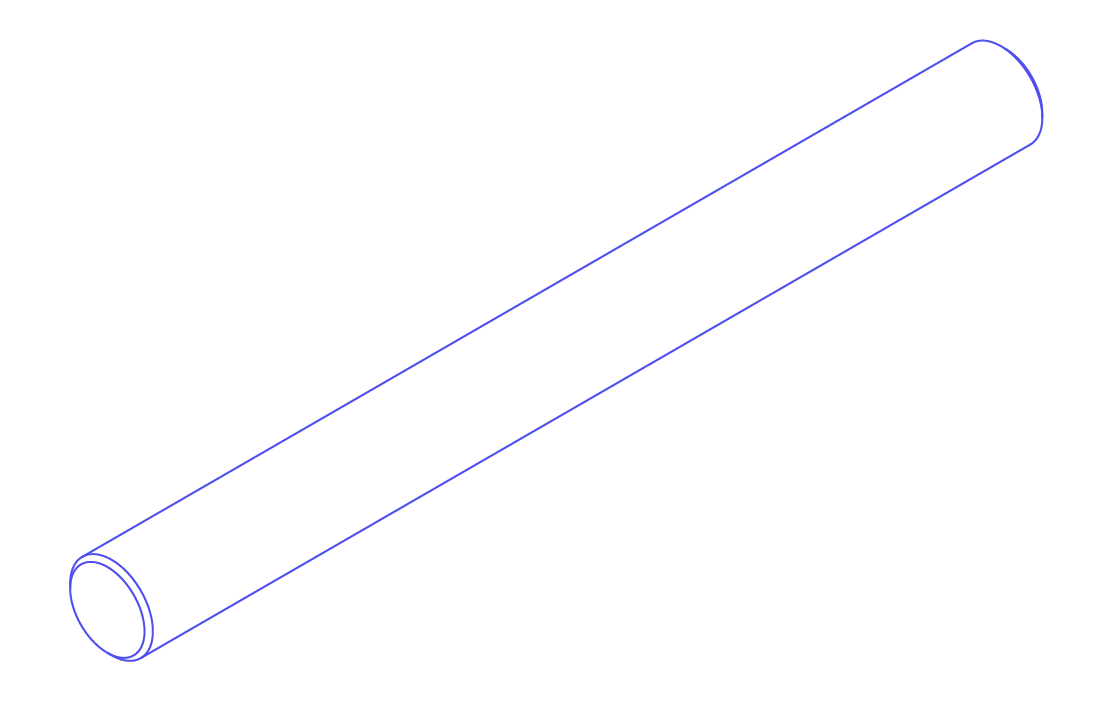 |
| Drying Stand Rack | 2 | 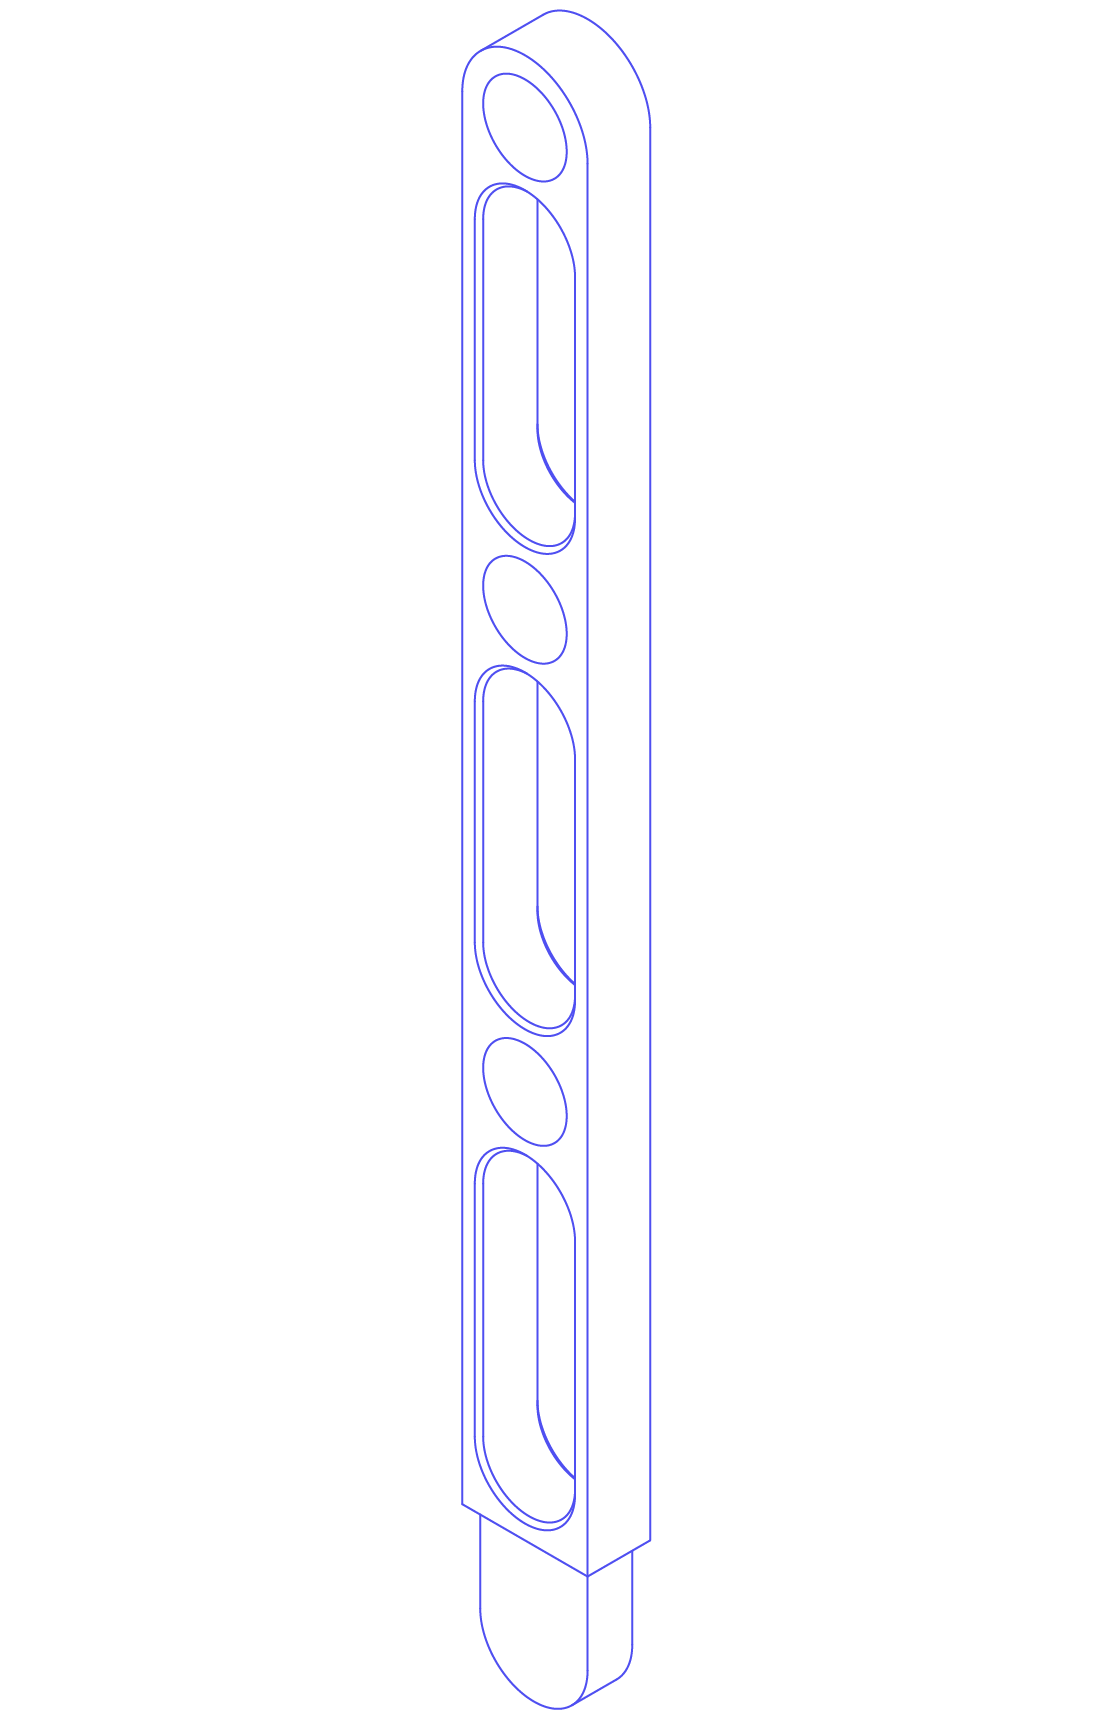 |
| Drying Stand Base | 2 | 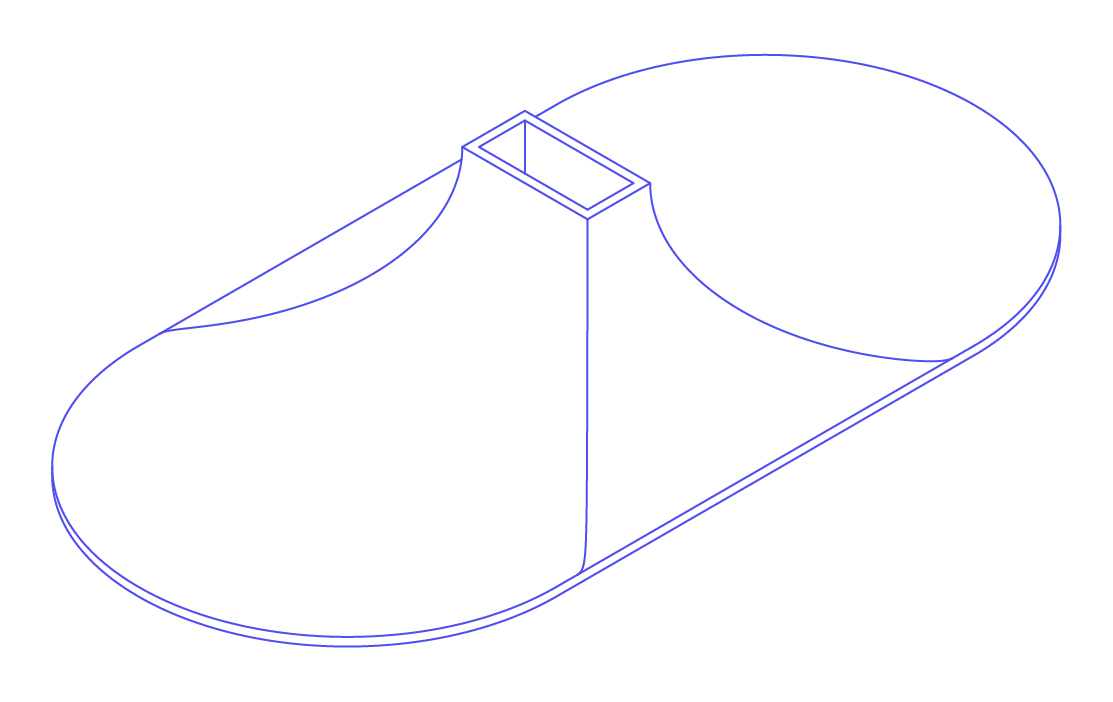 |