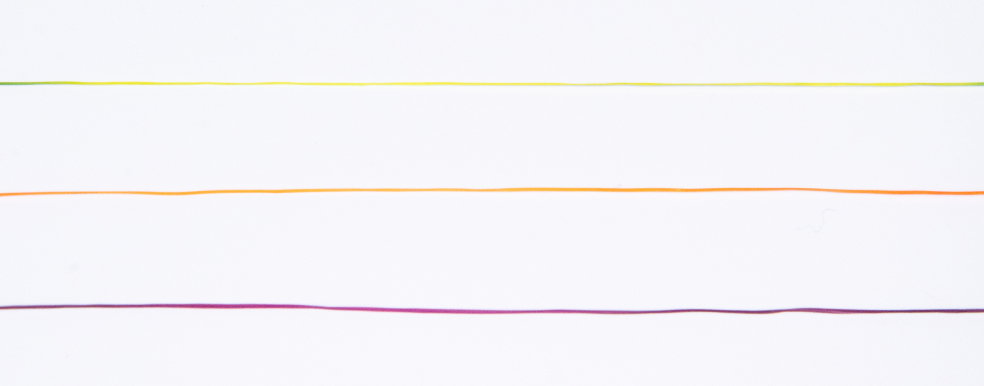
Thermochromic Yarn

Ingredients
| Material | Amount | Source |
|---|---|---|
| Sodium Alginate | 1.3g | Link |
| Glycerin | 1.7g | Link |
| Sunflower Seed Oil | 0.8g | Link |
| Distilled Water | 50g | Pharmacy |
| Thermochromic Pigments | 0.2g | Link |
Tools Needed
- Scale
- Weigh Boats
- Beakers
- Spatula
- Food Processor
- Food Vacuum
Mixing Steps
Prepare the Materials
- Weigh the thermochromic pigments and sodium alginate seperately in weigh boats
- Weigh and measure the liquids seperately in beakers
- Use two beakers to divide the 50g of DI water into 40g and 10g
Blending the Solution
- In the food processor, combine the 40g of DI water, sodium alginate, glycerin, and sunflower seed oil
- Secure the lid and blend until the solution is completely smooth and homogenous (this will be your base solution)
- TIP: Remove the base solution after this step and transfer to a beaker (to prevent staining the food processor later)
Adding the Pigments
- In the beaker with 10g of DI water, add the thermochromic pigments
- Use the spatula to stir and dissolve the powder as much as possible
- Once the pigment solution is clump-free, pour it into the base solution
- Using the spatula or the food processor, mix the solutions until fully combined, ensuring to scrape the bottom and sides between mixing
Vacuum the Solution
- To remove the air bubbles introduced by mixing in previous steps, place the solution into the food vacuum for at least 30 mins
- If bubbles still remain on the top you may use a spatula to lightly pop them or add additional time in the vacuum
- If the solution is not being used immediately after vacuuming, cover and place the solution in the fridge to prevent molding
Prepare the Syringe
Load the Syringe
- Slowly pour the degassed solution into the
syringe - Place the plunger in the bottom of the
syringeto secure it inside but do not add additional pressure (solution will squirt out) - Flip the
syringeupside down such that the nozzle is facing the ceiling - Allow the air the pocket in the
syringeto rise to the top, then gently apply pressure to remove the air bubble
Attaching the Tubes
- Attach the
syringe couplerto thesyringenozzle (it should screw on) - Fully insert the
couplertip into thetubing - Take the
needle couplerand insert the tapered end on the other side of the tube - Twist on the
dispensing needleon theneedle coupler - Your
syringeand solution are now ready to be extruded!
Tune the Material
- If you want to decrease the opacity you may want to reduce the amount of thermochromic pigment in 0.02g increments until the result is as desired.
- You may scale the recipe by increasing or decreasing the amount of materials used in their respective ratios
Last updated on